Create Entra App for Universal Controller
We will begin by setting up Entra for the Universal Controller.
Step 1 | Log into the Microsoft Azure Portal using your admin credentials. |
|---|---|
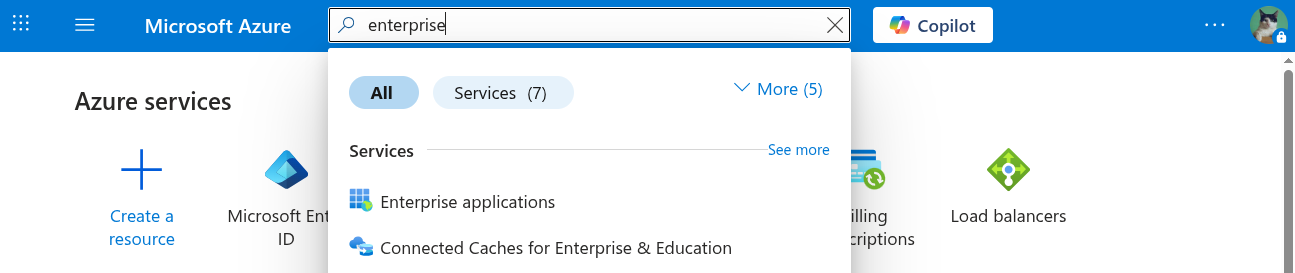
Step 2 | Go to Azure > Enterprise Applications.
|
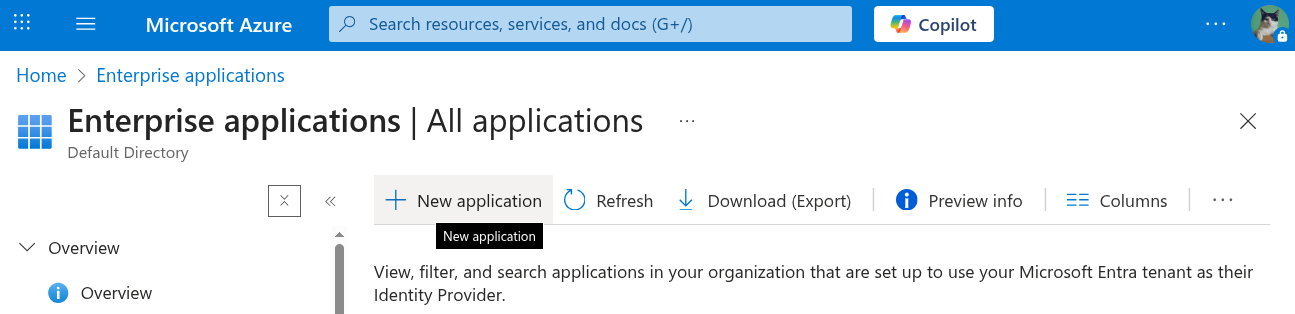
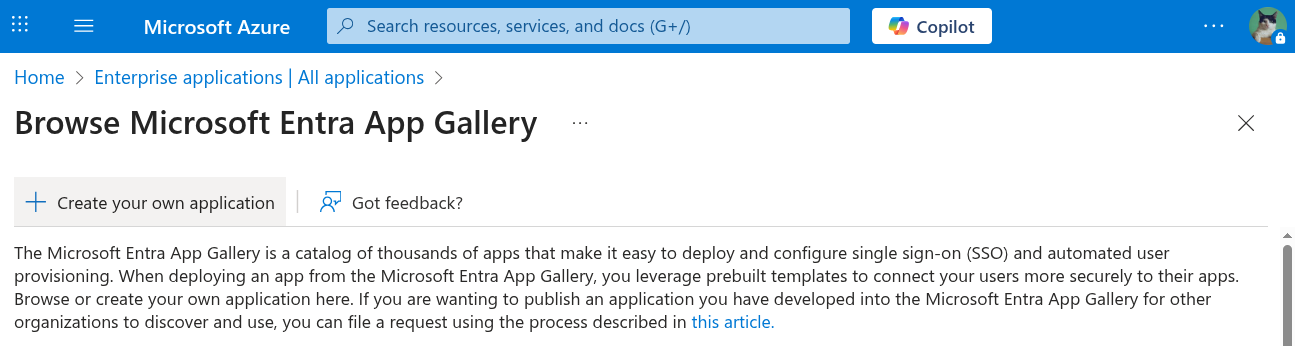
Step 3 | From Enterprise applications, click New application.
Then click create your own application.
|
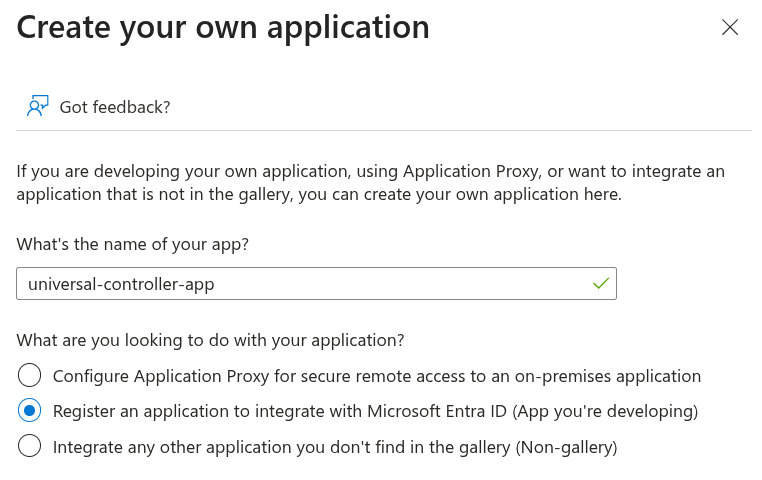
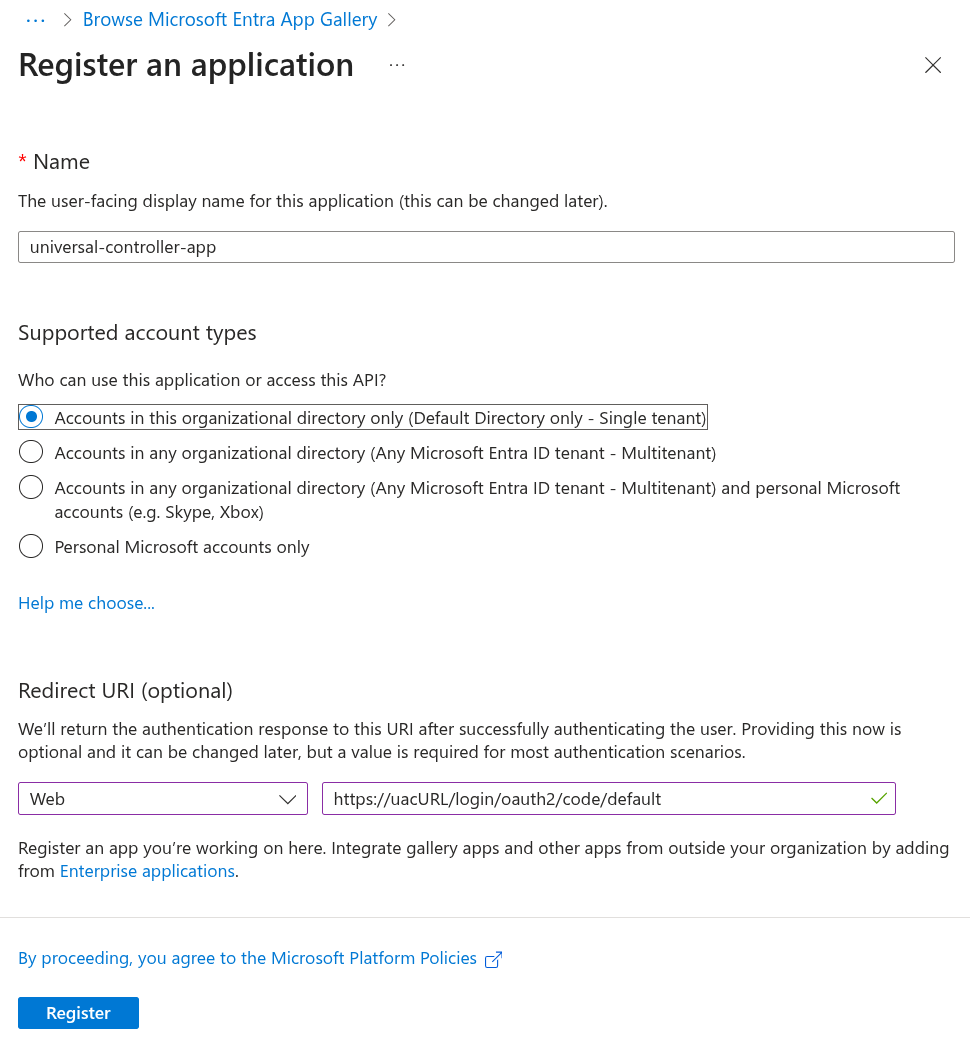
Step | When creating a new application in Microsoft Entra ID, enter a descriptive name for the application that will be used to integrate with the Universal Controller. This application represents the Universal Controller. In this example, we will call it universal-controller-app. Select the Register an application to integrate with Microsoft Entra ID (App you're developing) option**.**
Then, click create. Your newly registered application should now be available under Enterprise applications. |
Step | Select Single tenant for those who can access the application Add a Web Redirect URI in the format {Cluster Node Base Redirect URL} (for example, Click Register.
|
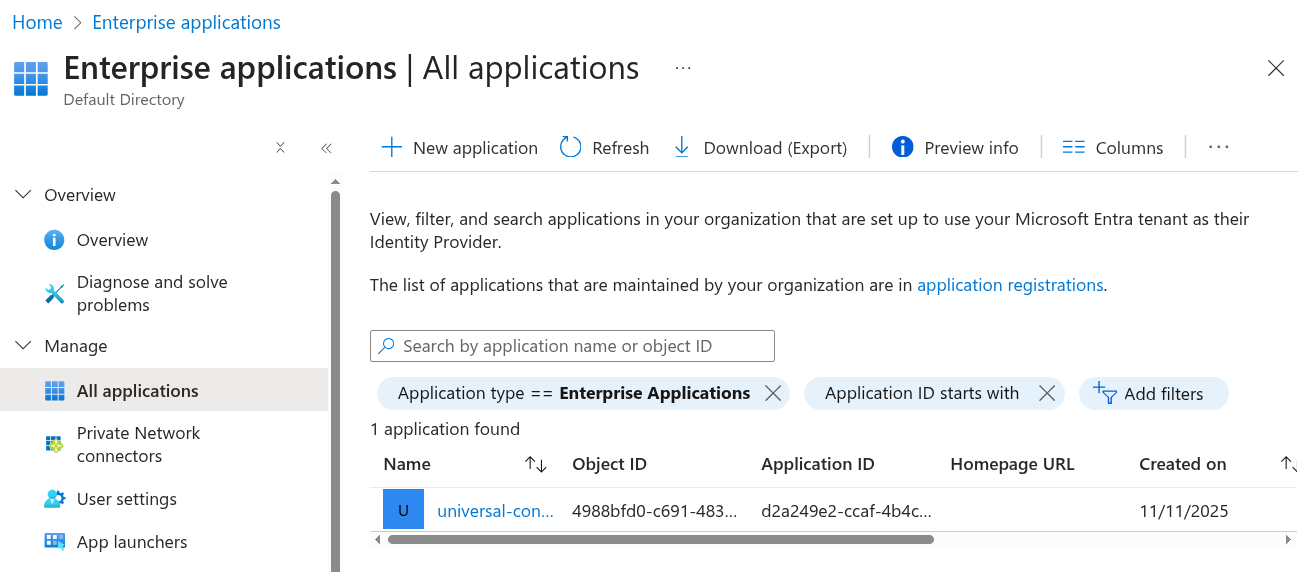
Step | Go to Enterprise Applications > All Applications Click Refresh and select the universal-controller-app from the list.
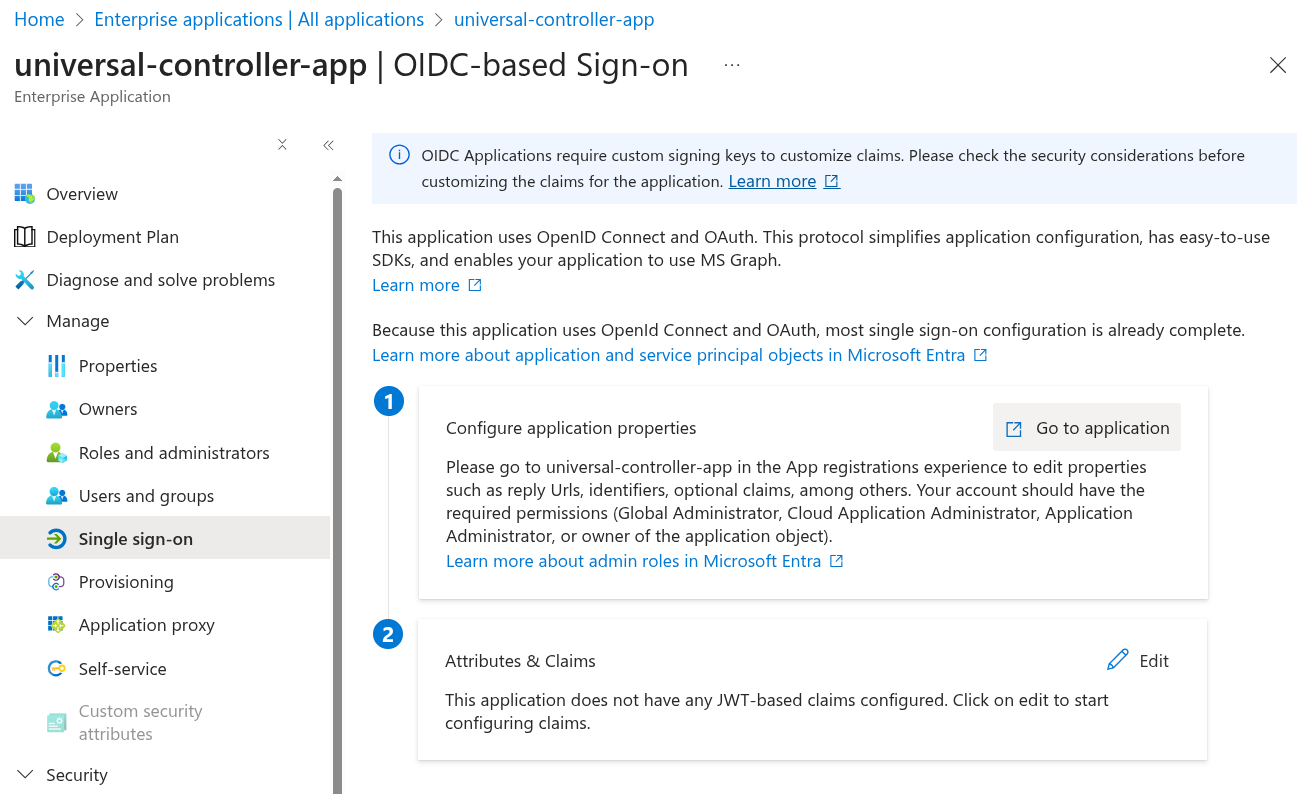
Click Single sign-on from the left navigation, and then click Go to Application.
|
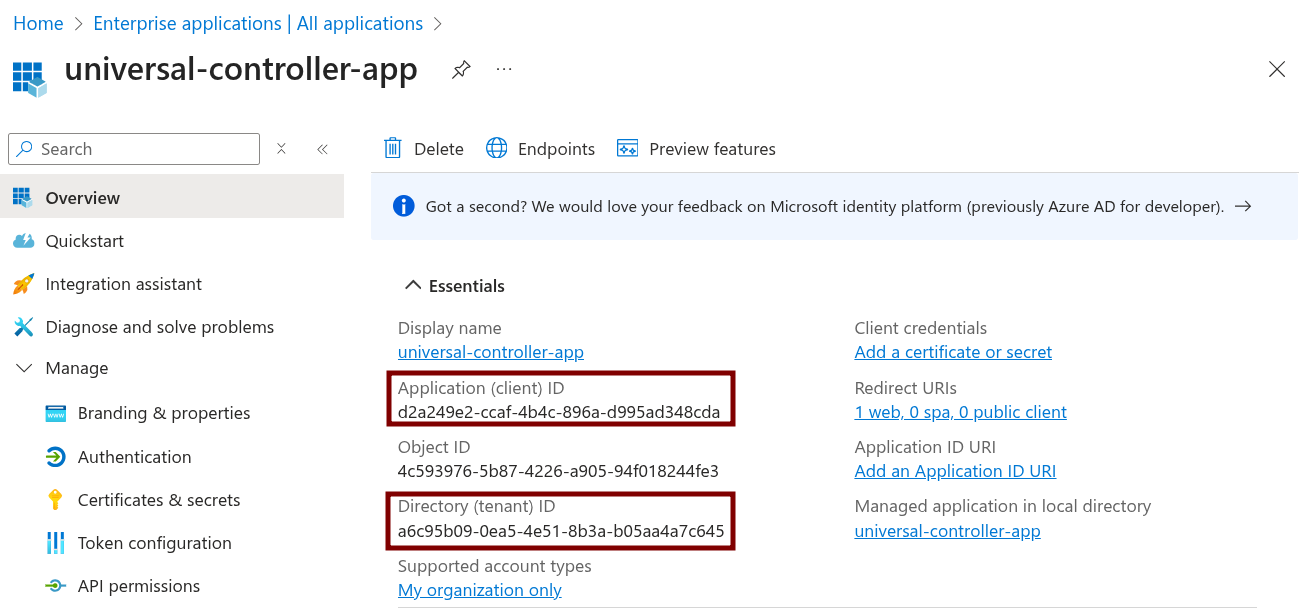
Step | From the Overview, take note of both the Application (client) ID and Directory (tenant) ID, as we will need this information later.
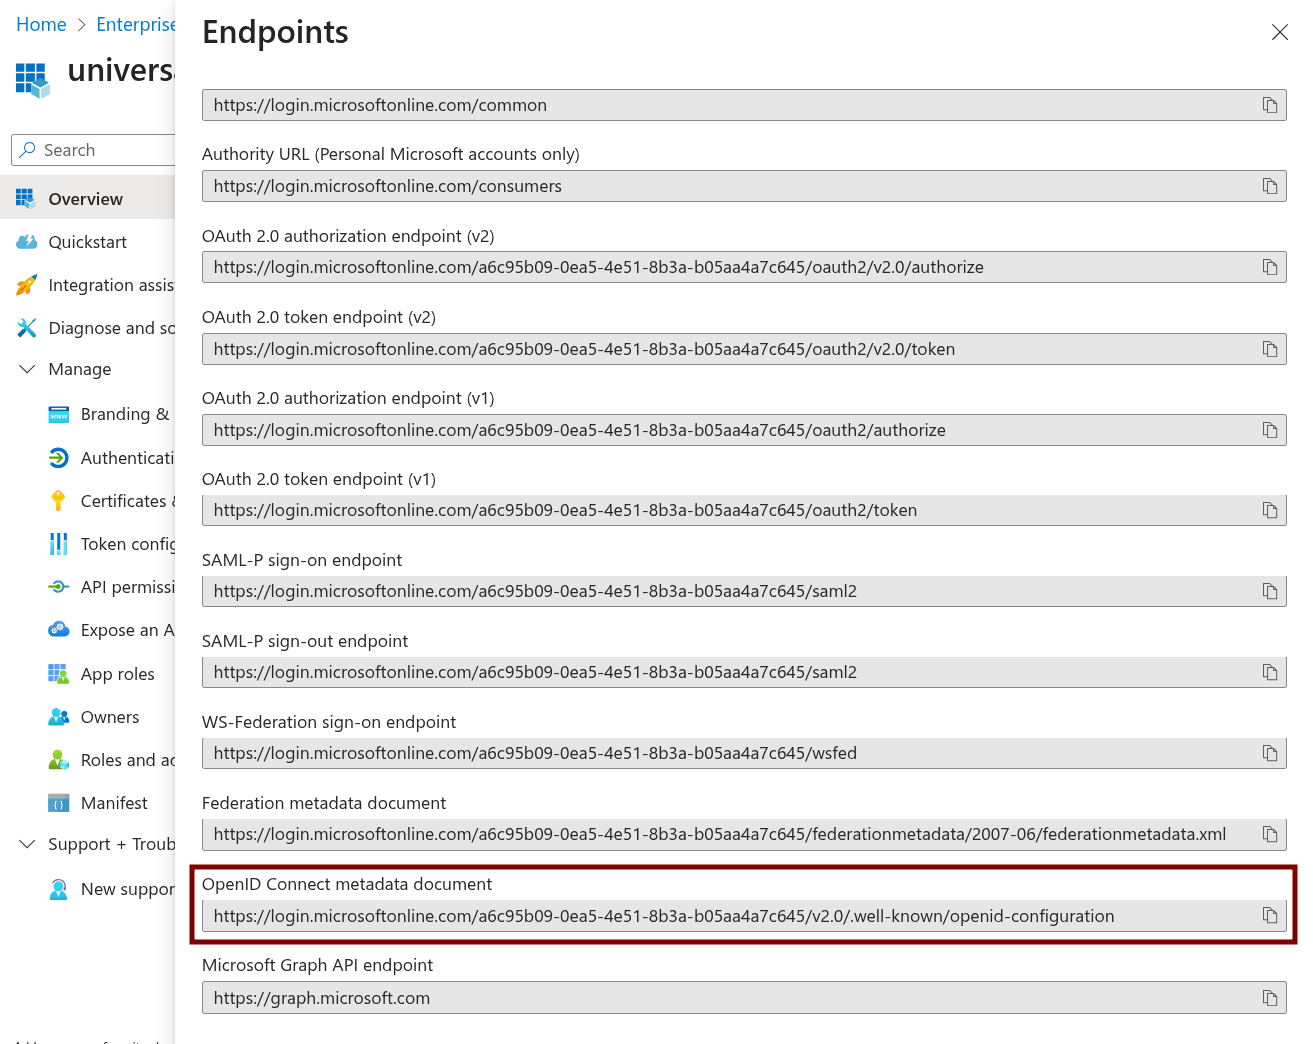
Click Endpoints. Find the OpenID Connect metadata documentvalue.
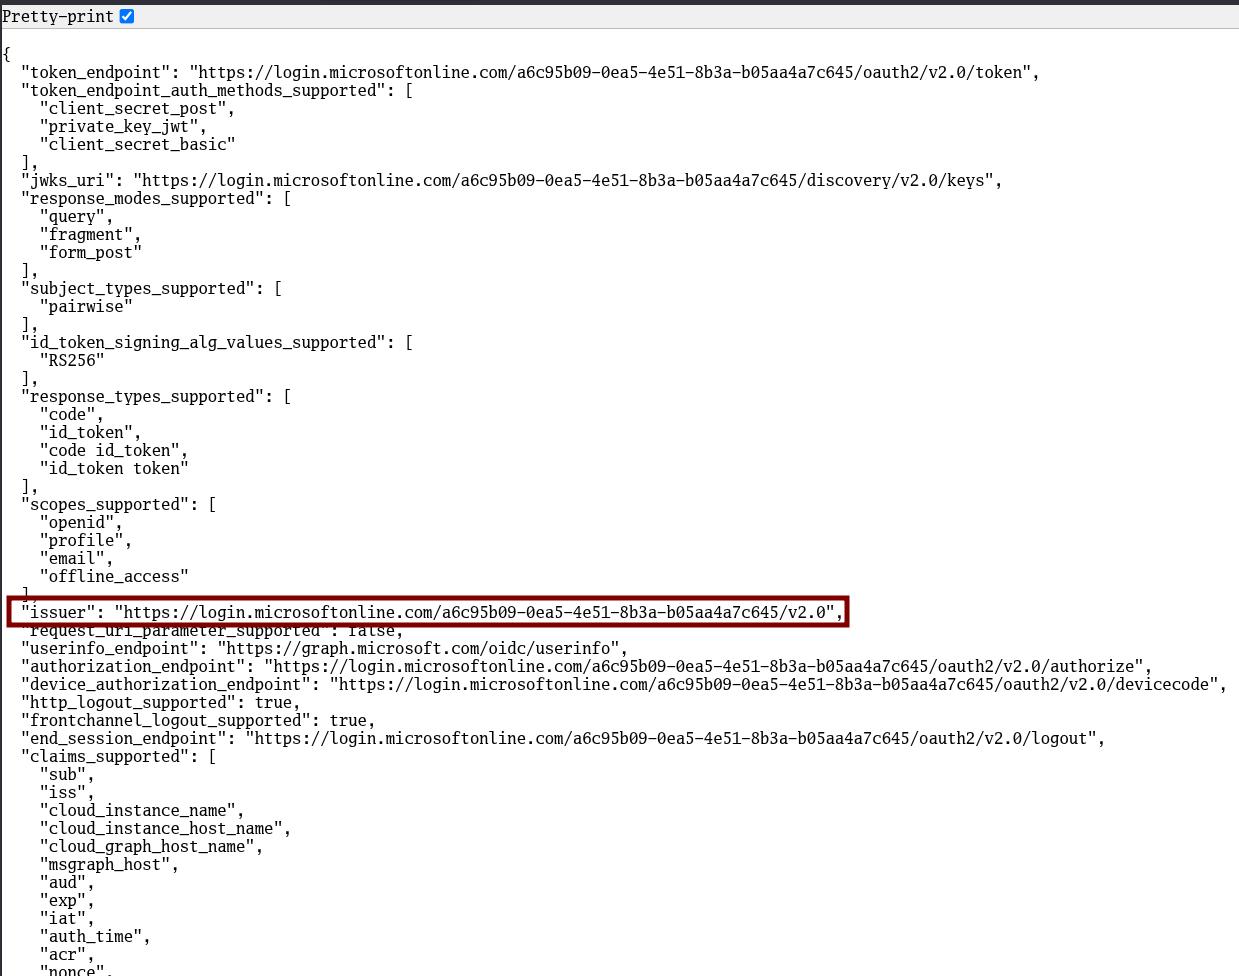
Open this URL in your browser and take note of the Issuer.
|
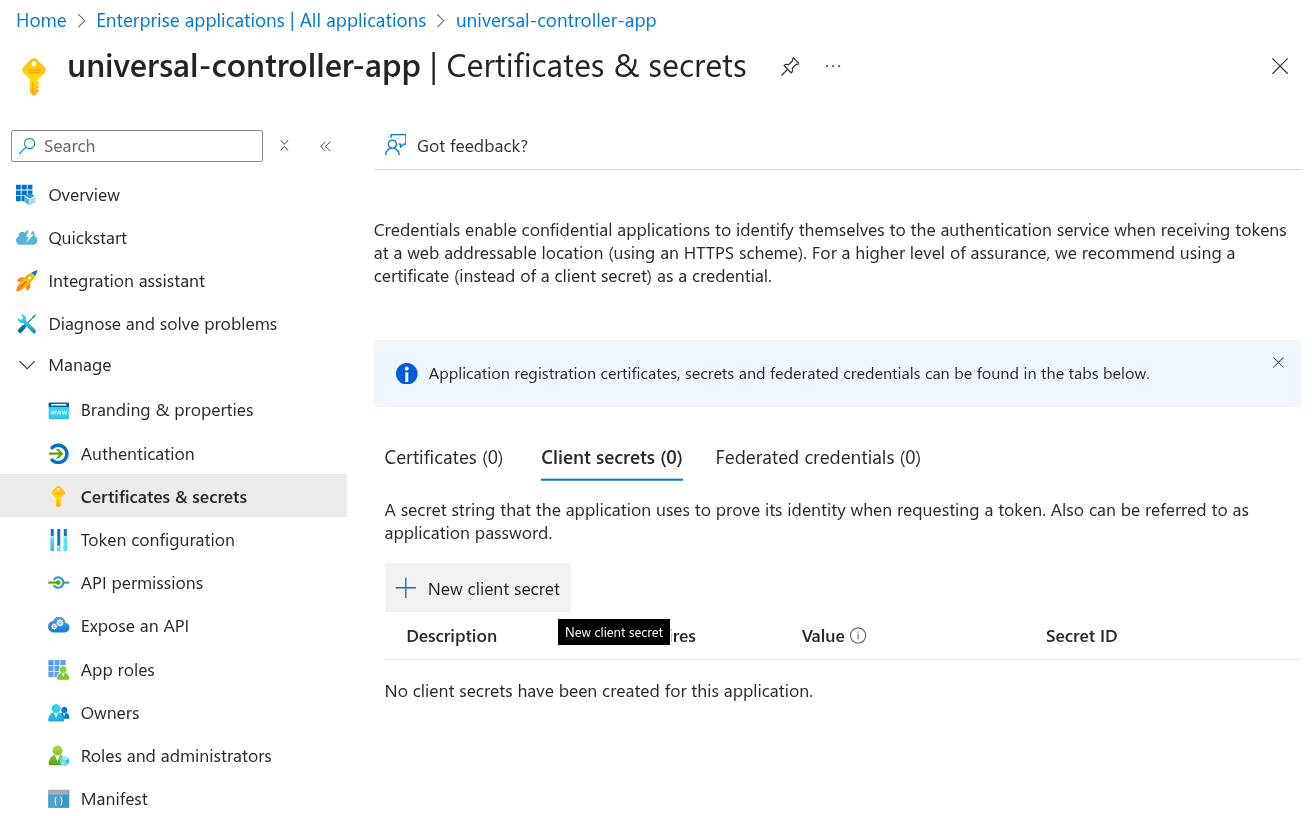
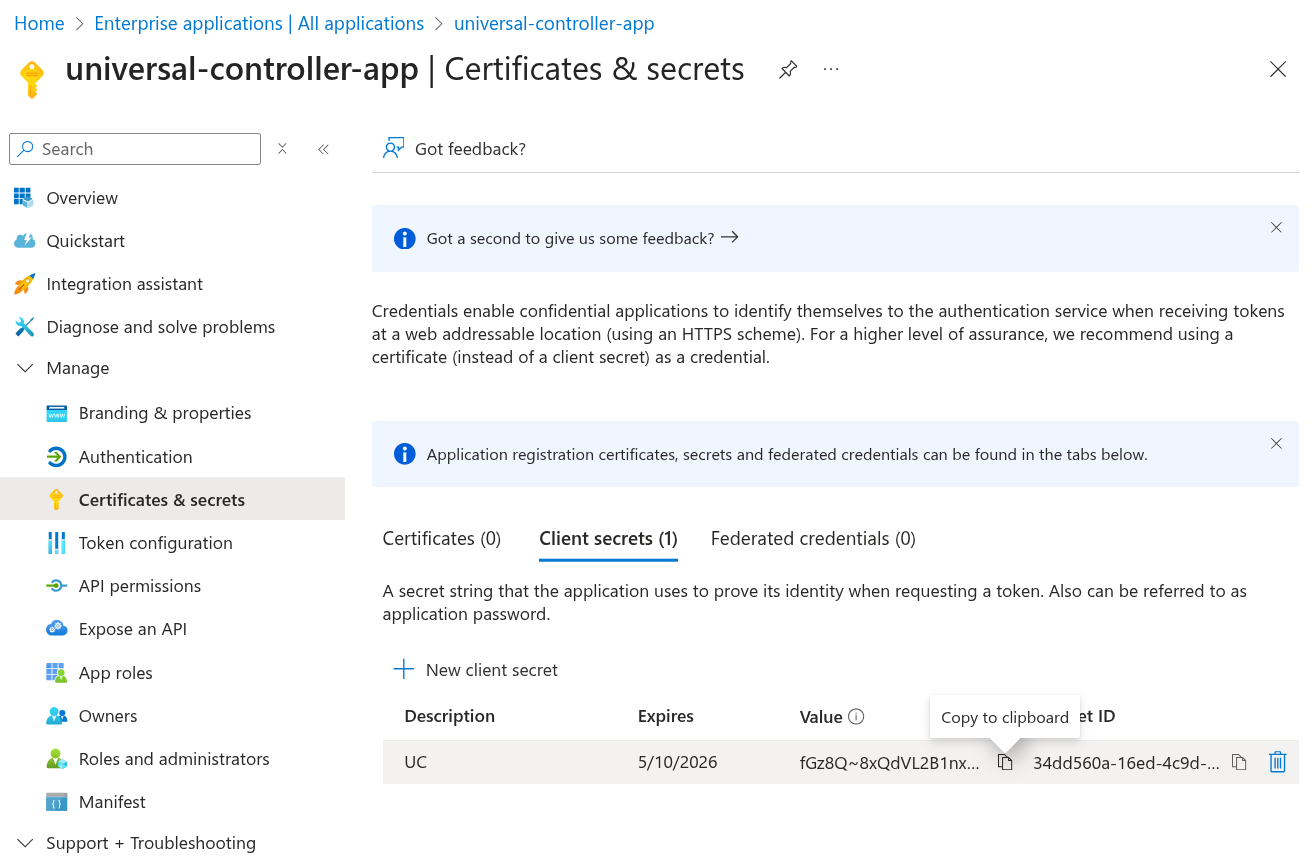
Step | Go to Certificates & Secrets > Client secrets. Click New client secret.
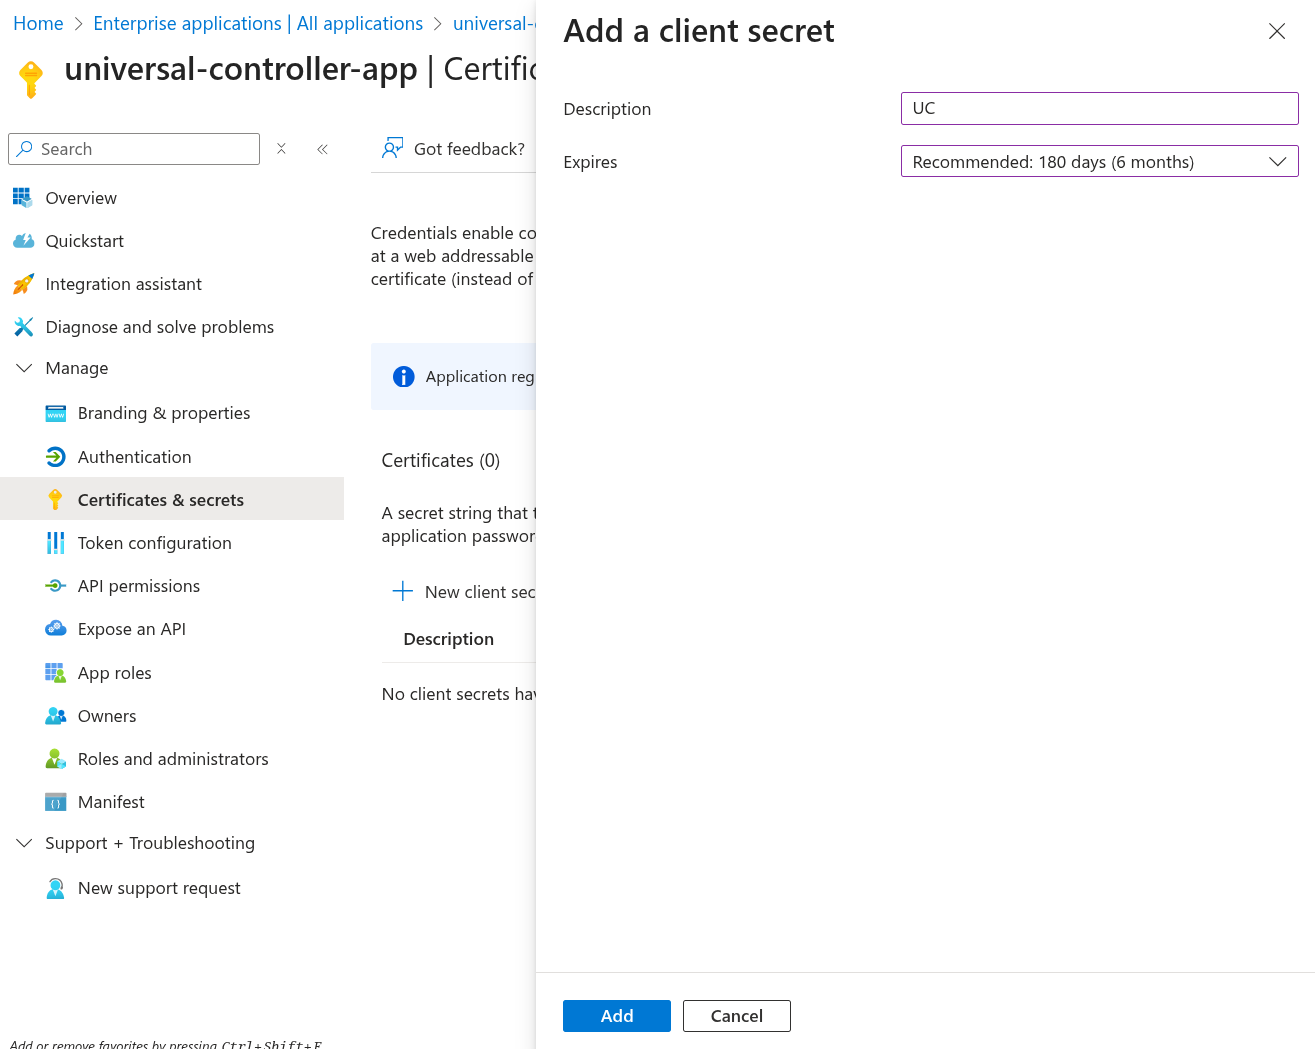
Specify a Description with expiry time interval according to your company's standards. Click Add.
Click the clipboard icon to copy the Value and store it securely, as you will need this information later.
|
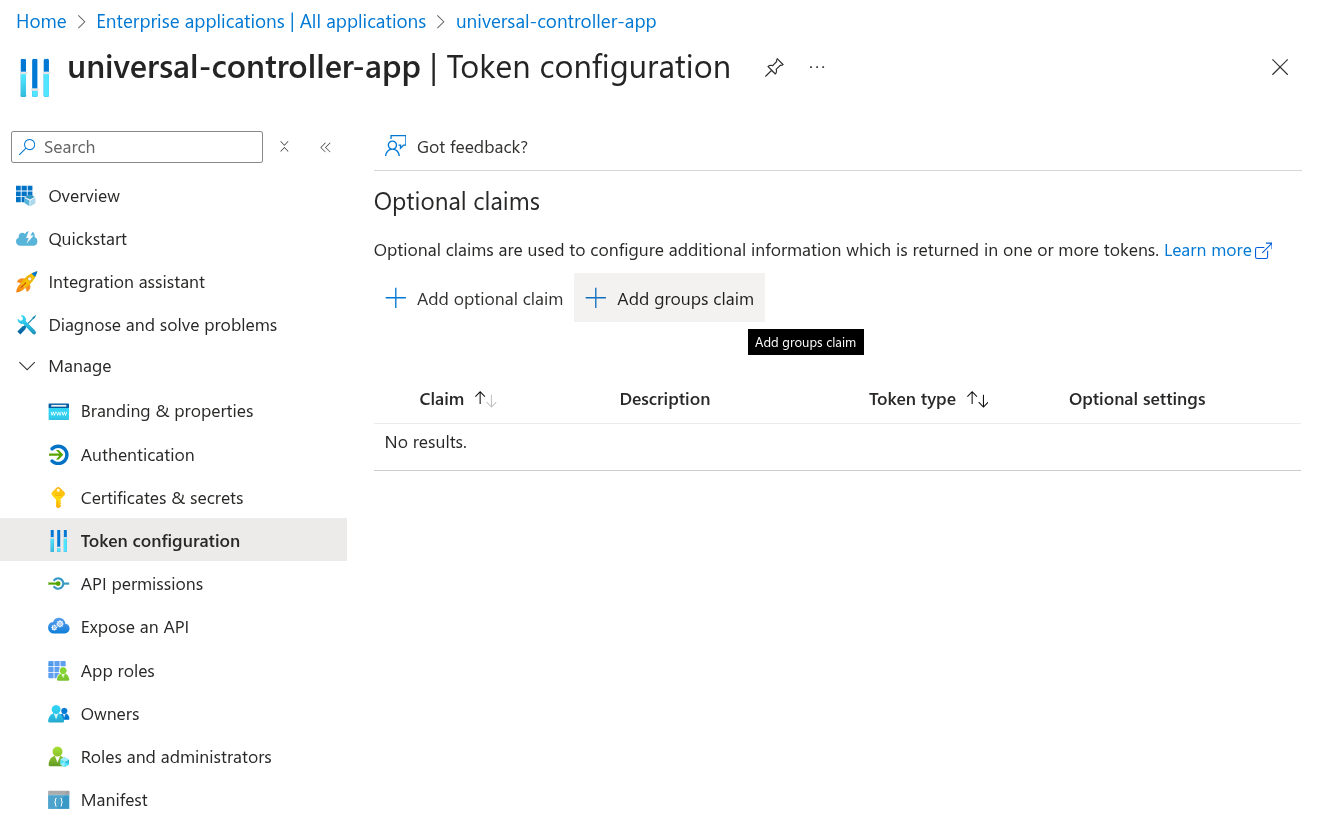
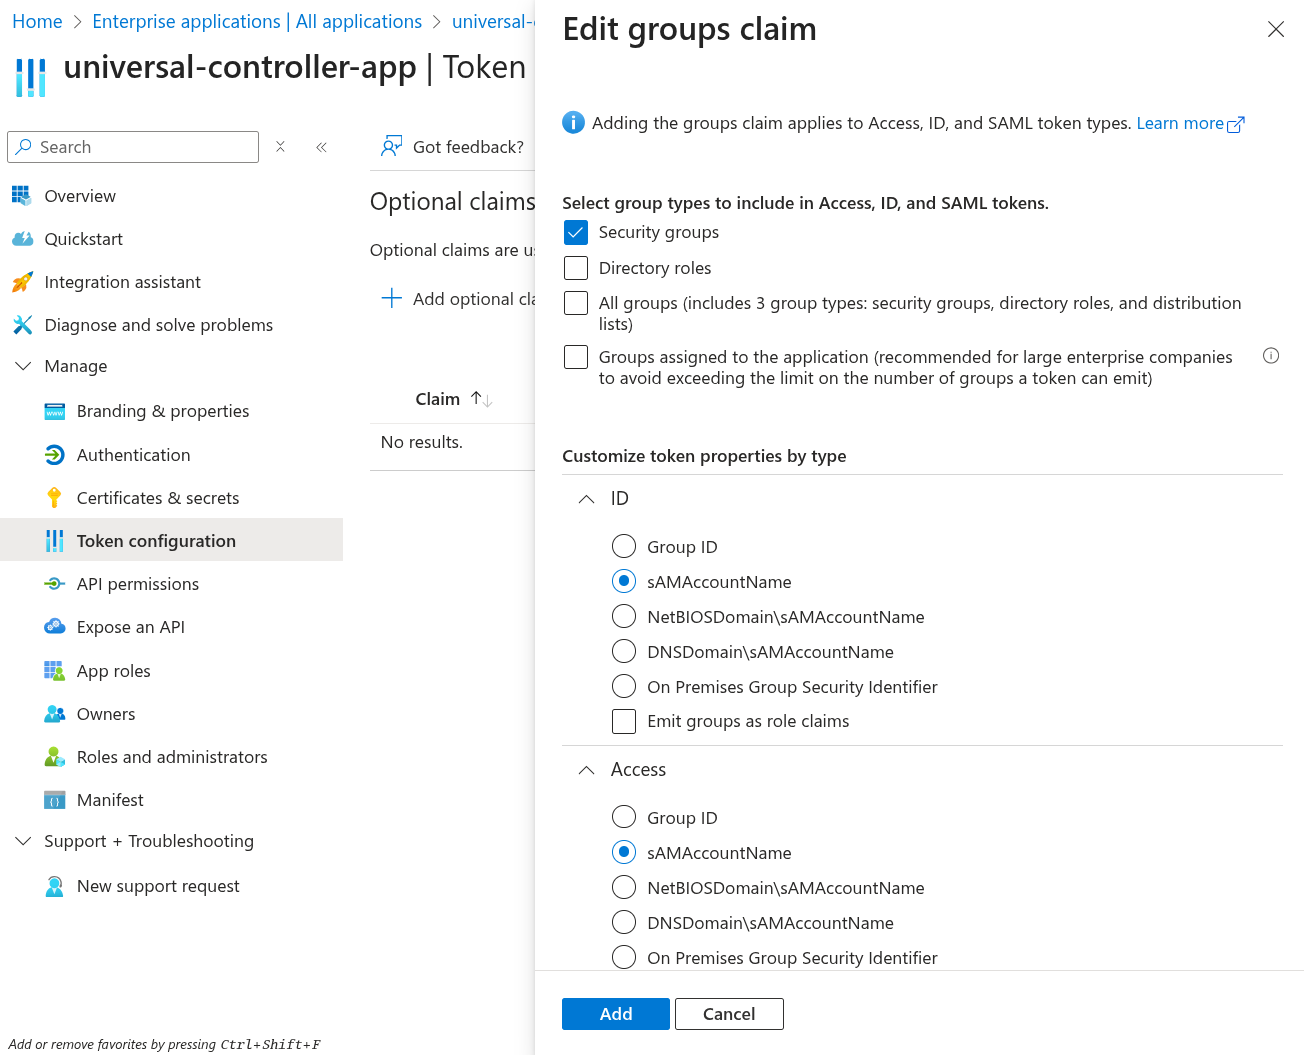
Step | Go to Token configuration. Click Add groups claim.
In the opened dialog, select Security Groups, and assign sAMAccountName to the ID and Access token properties. Click Add.
|
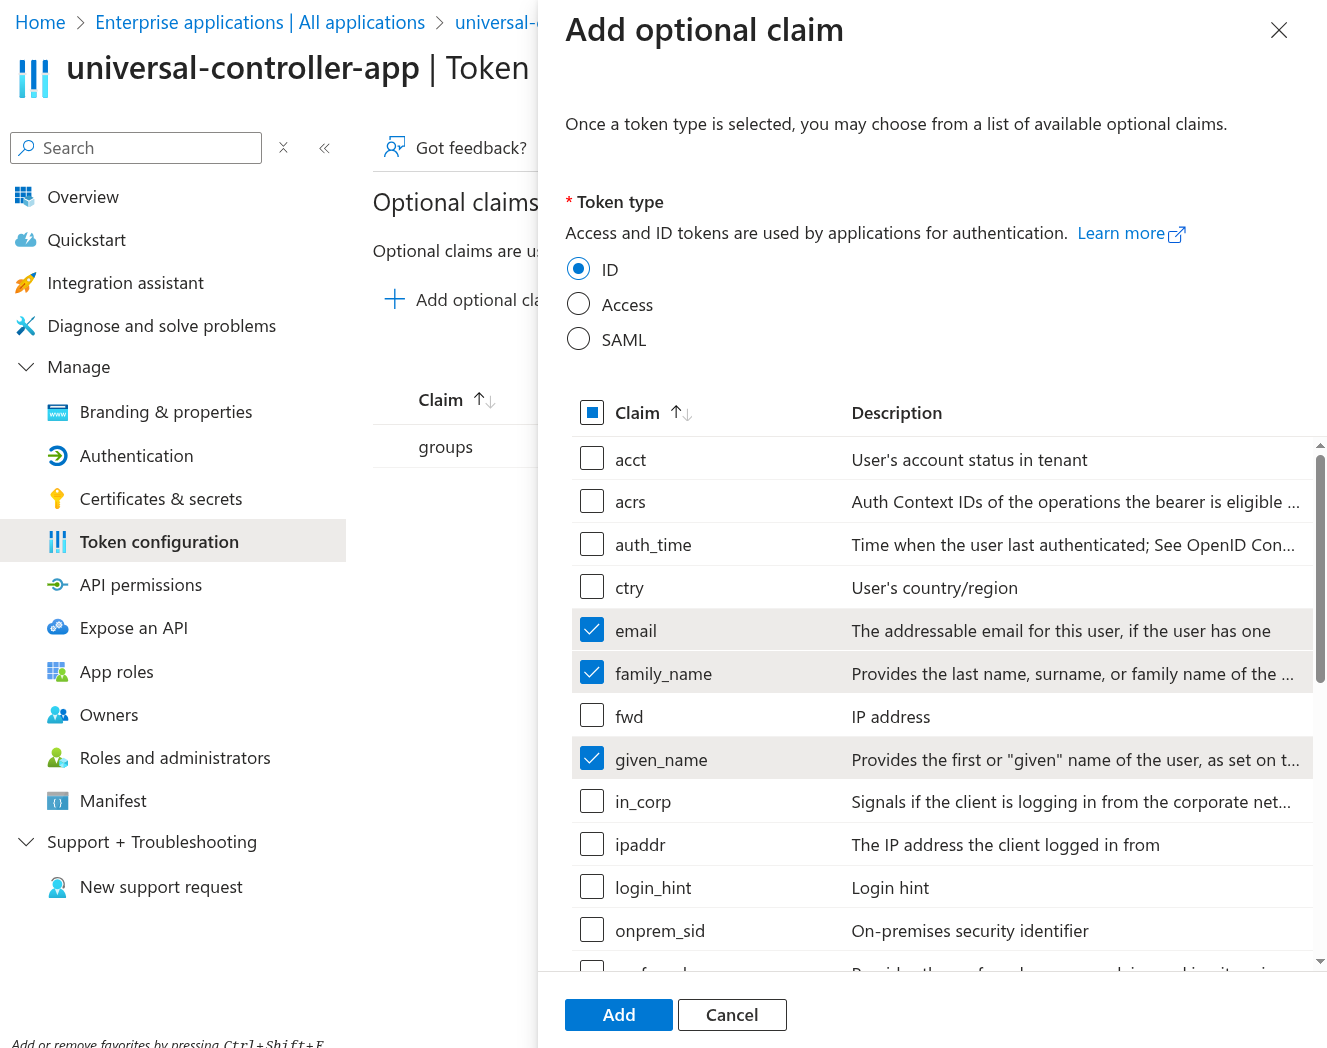
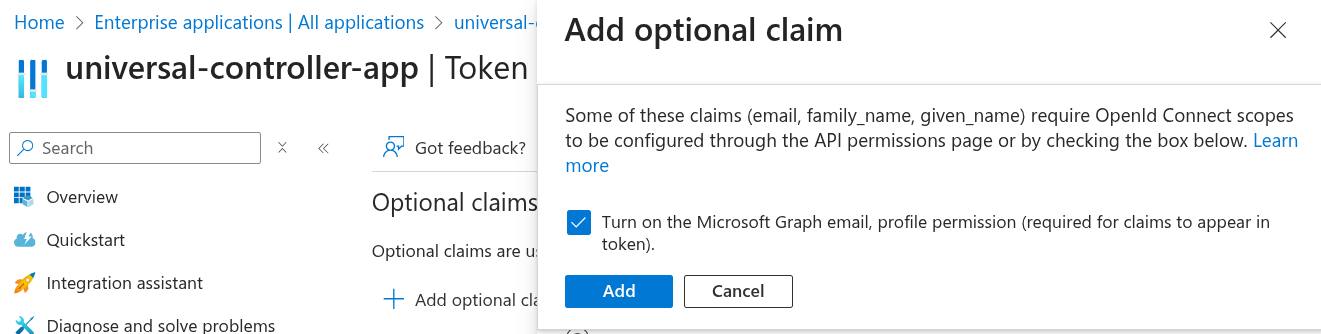
Step | Go to Token configuration. Click Add optional claim. Select ID from the options, and choose email, family_name and given_name. Click Add.
Check Turn on the Microsoft Graph email, profile permission (required for claims to appear in token). Click Add.
|
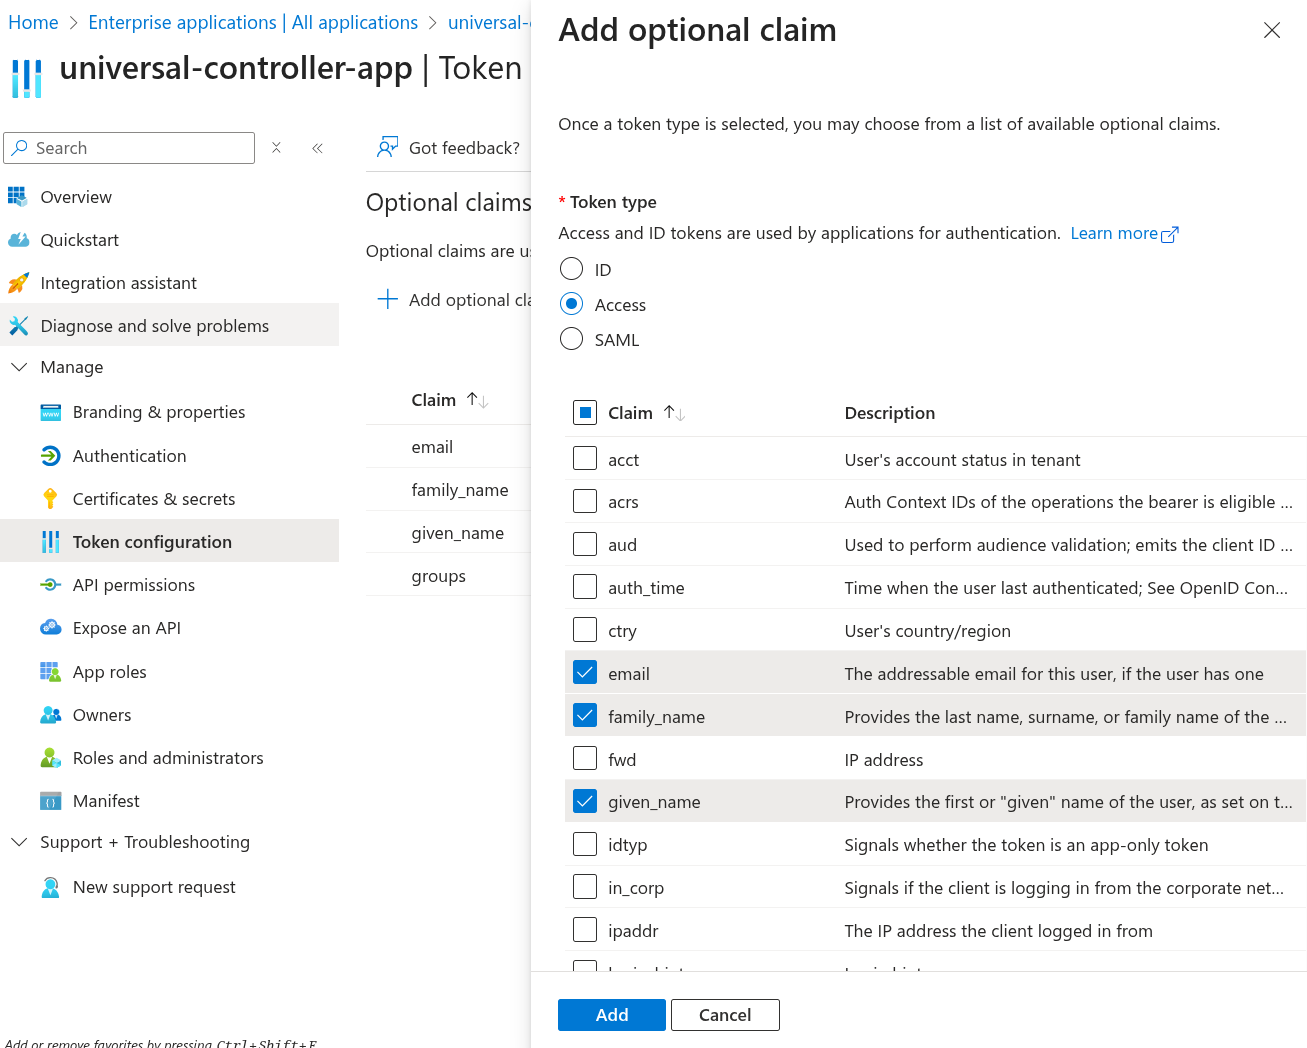
Step | Go to Token configuration. Click Add optional claim again. This time, select Access from the options, and choose email, family_name and given_name. Click Add.
|
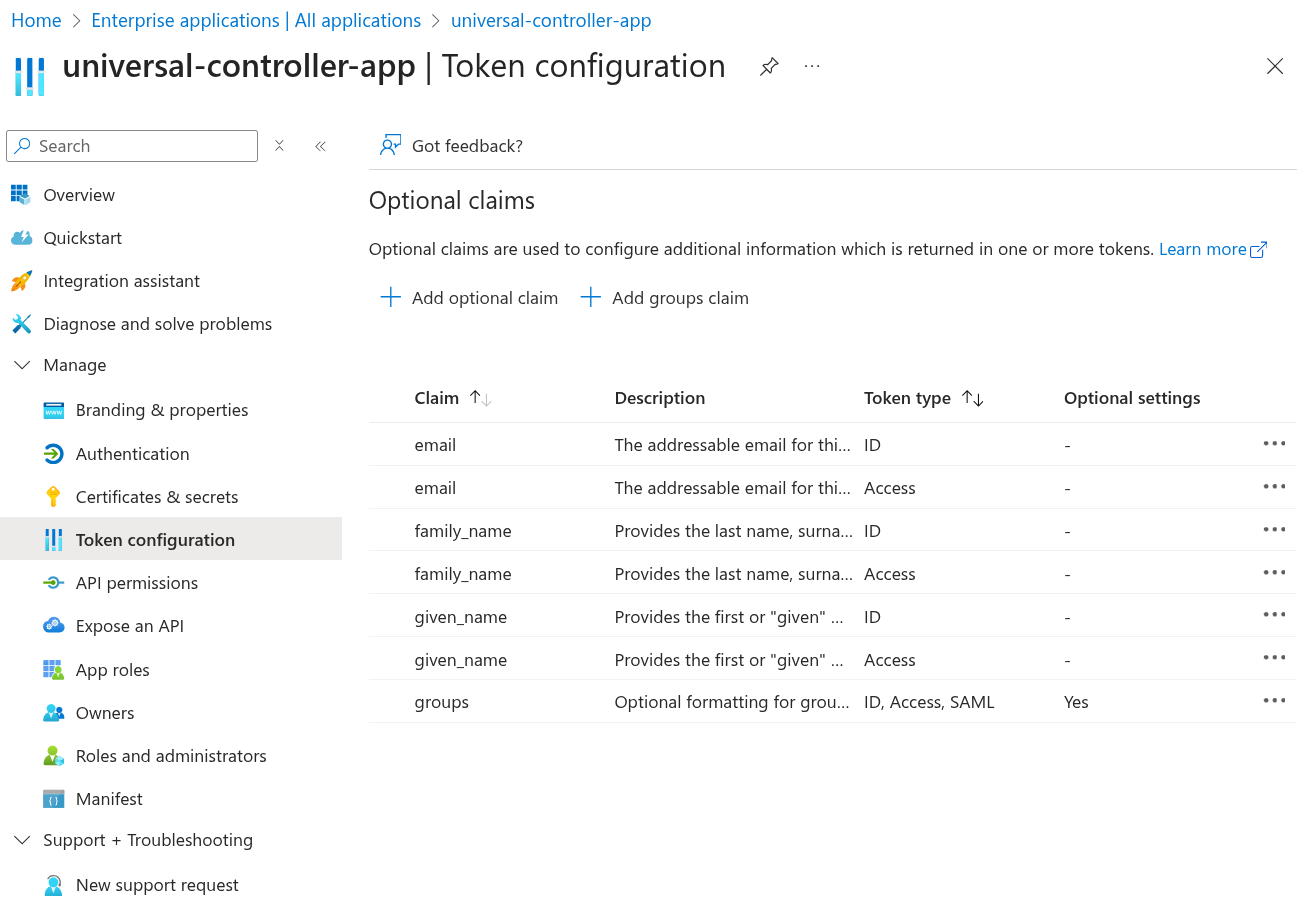
Step | Go to Token configuration Once you are all done, confirm you have all the claims in place.
|
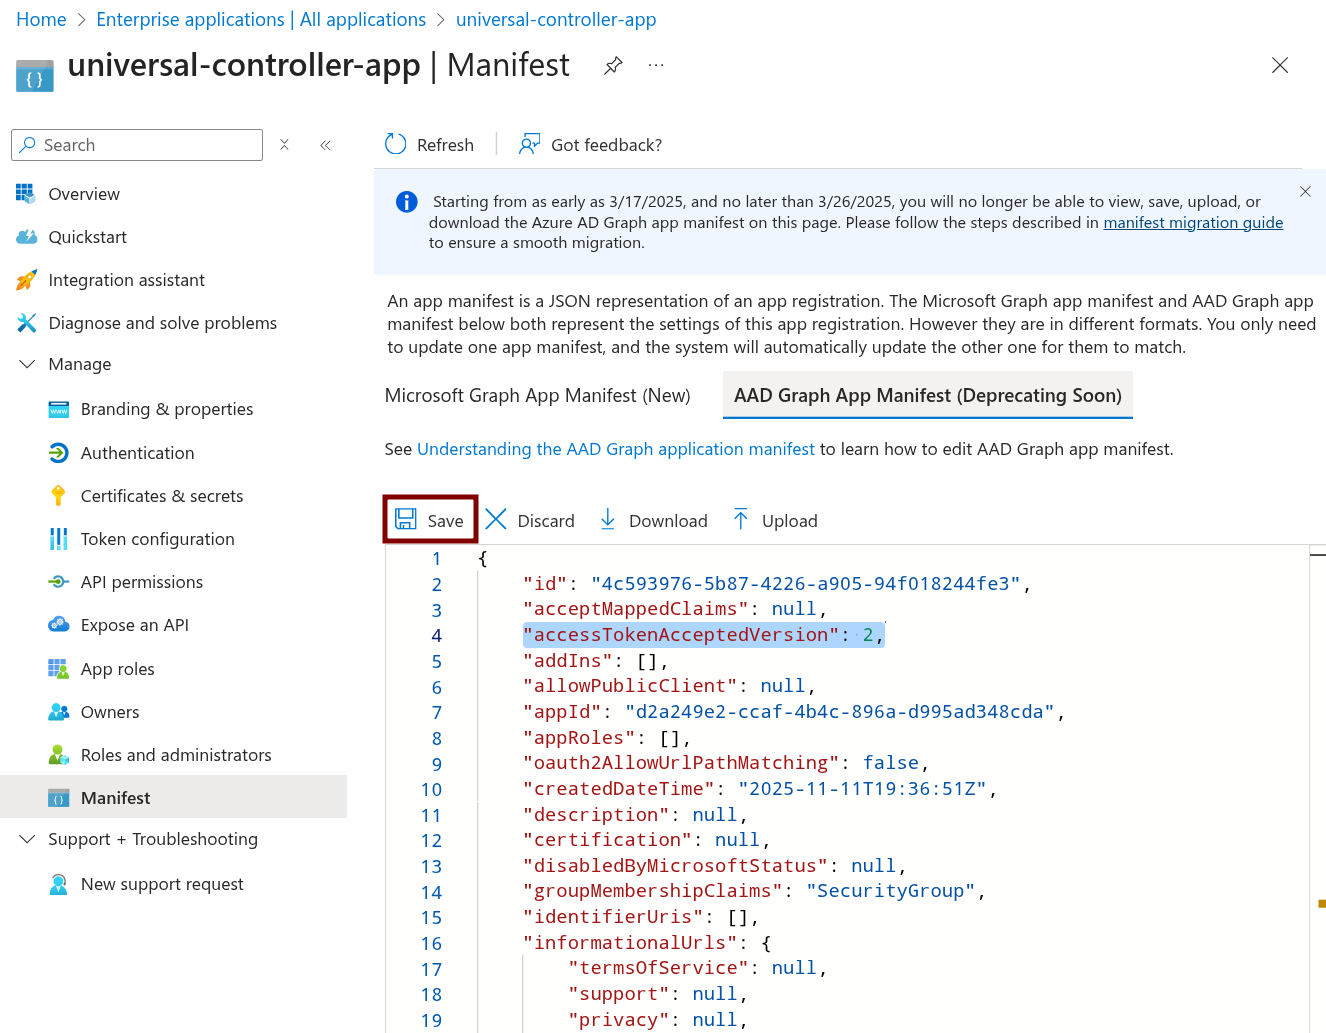
Step | Go to Manifest Select AAD Graph APP Manifest. Find this line: Update the value to 2: Click Save.
|
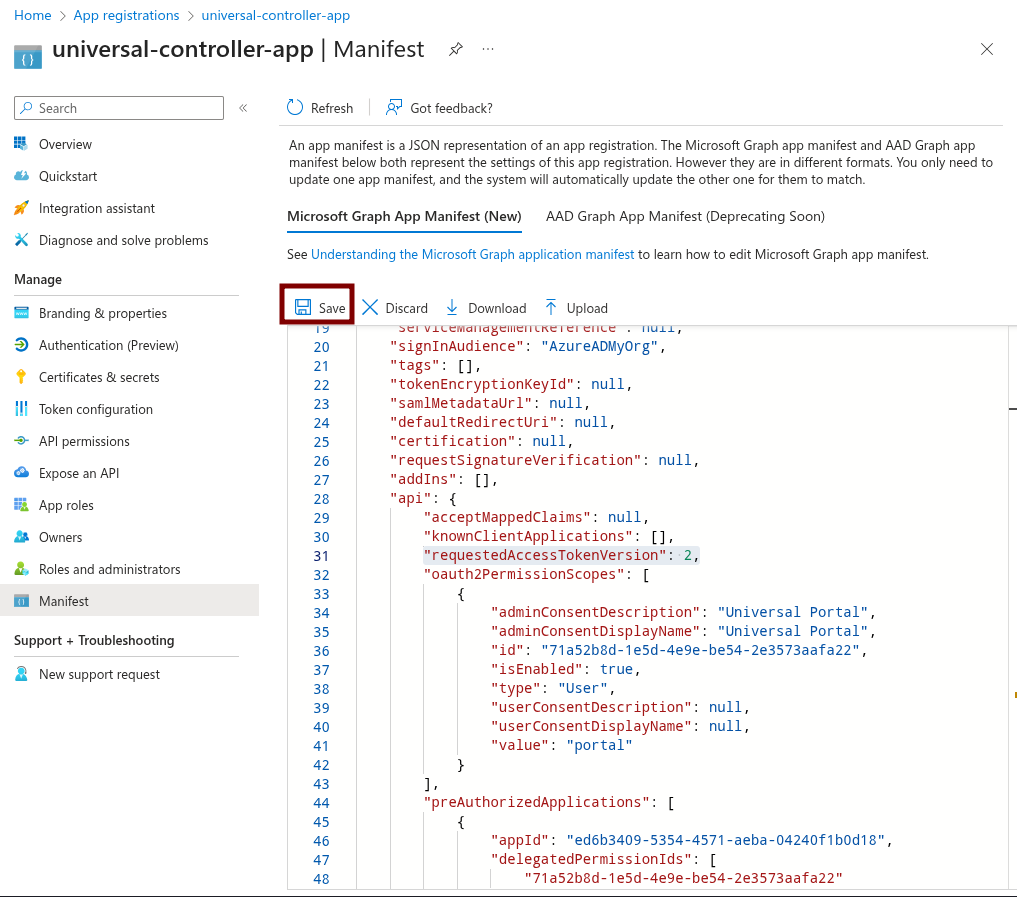
Step | Go to Manifest Select Microsoft Graph App Manifest (New). Find this line: Update the value to 2: Click Save.
|
Step | Go to Users and groups. Assign the users and groups you would like to give access to Universal Controller and Universal Portal. |